Makers Workshop
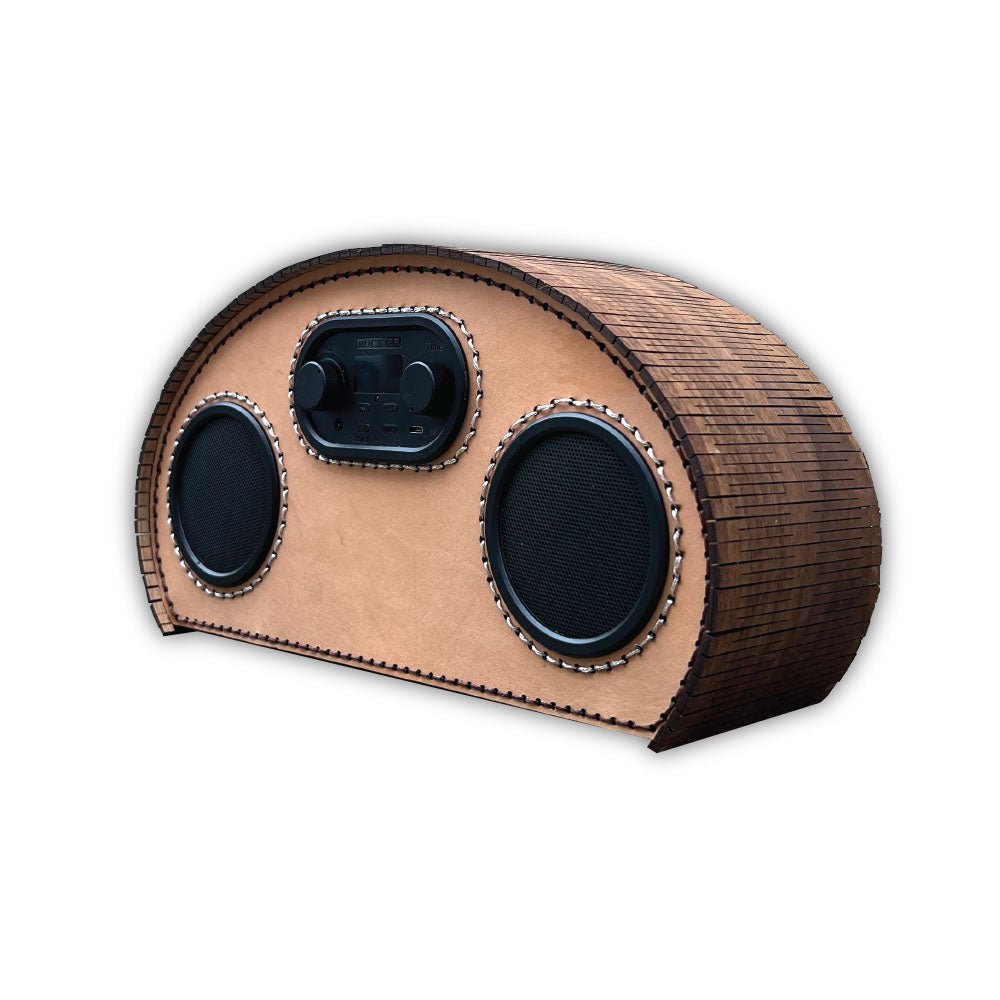
Laser Cut Wood and Leather Rockler Radio
Laser Cut Wood and Leather Rockler Radio
Couldn't load pickup availability
I designed a laser cut leather speaker to mount Rockler's Wireless Speaker Kit. I really love the finished look of the leather and wood, and as a bonus this was really fun to make because in addition to laser cutting, this design features sewing and a large living hinge. All the different processes kept it interesting, ya know? I hope you enjoy this one as much as we did!
-Brooke
Share

-
Project Notes
Step 1: Laser Cut all pieces as labeled in the project files. Note: the design isn't scalable. For the best results sand wood and apply masking material to both sides before laser cutting. The living hinge can be delicate before it's glued in place and it's best not to sand it after it's been cut. Included is the pattern to cut the living hinge in either two pieces or one large piece; choose what works best for you. Leather doesn't need masking material. I prefer to clean off and smudges from the laser using leather conditioner after the cuts.
Step 2: Lay the leather pieces over their matching plywood pieces. Sew them together using a running stitch.
Step 3: Mark the center point of each leather section, and the center point on the living hinge. If you cut the hinge in two pieces the seam will line up with the center.
Step 4: Fill the laser engraved groove with wood glue and carefully press the wood around the leather pieces. This is easiest with a second set of hands if possible. Another trick to make it a bit easier is to use CA glue as a quick hardening glue at various points along the glue seam. This will serve as a faster hardening clamp while the wood glue dries.
Step 5: Apply finish to all wood components. For the living hinge you'll get the best result with lots of very thin layers of finish. I recommend and oil based finish as it will absorb into the wood instead of sitting on top of it.
Step 6: Pop the Rockler Speaker kit into place. Mine pressure fit, but I added some 5 minute epoxy for good measure on the inside just to be sure.
Step 7: The bottom piece should pressure fit into place, and then it's all done! Enjoy your music
-
Suggested Materials
Makers Workshop 1/8" thick Laser Ready Sheets
Creality3D Falcon 2 22W Diode Laser Cutter
Rockler Wireless Speaker Kit
Oslo Hard Wax Oil
Metallic Thread
Waxed Thread
Leather
CA Glue
Wood Glue

