
Makers Workshop
Laser Cut Leather Piggy Bank Downloadable Files
Laser Cut Leather Piggy Bank Downloadable Files
Couldn't load pickup availability
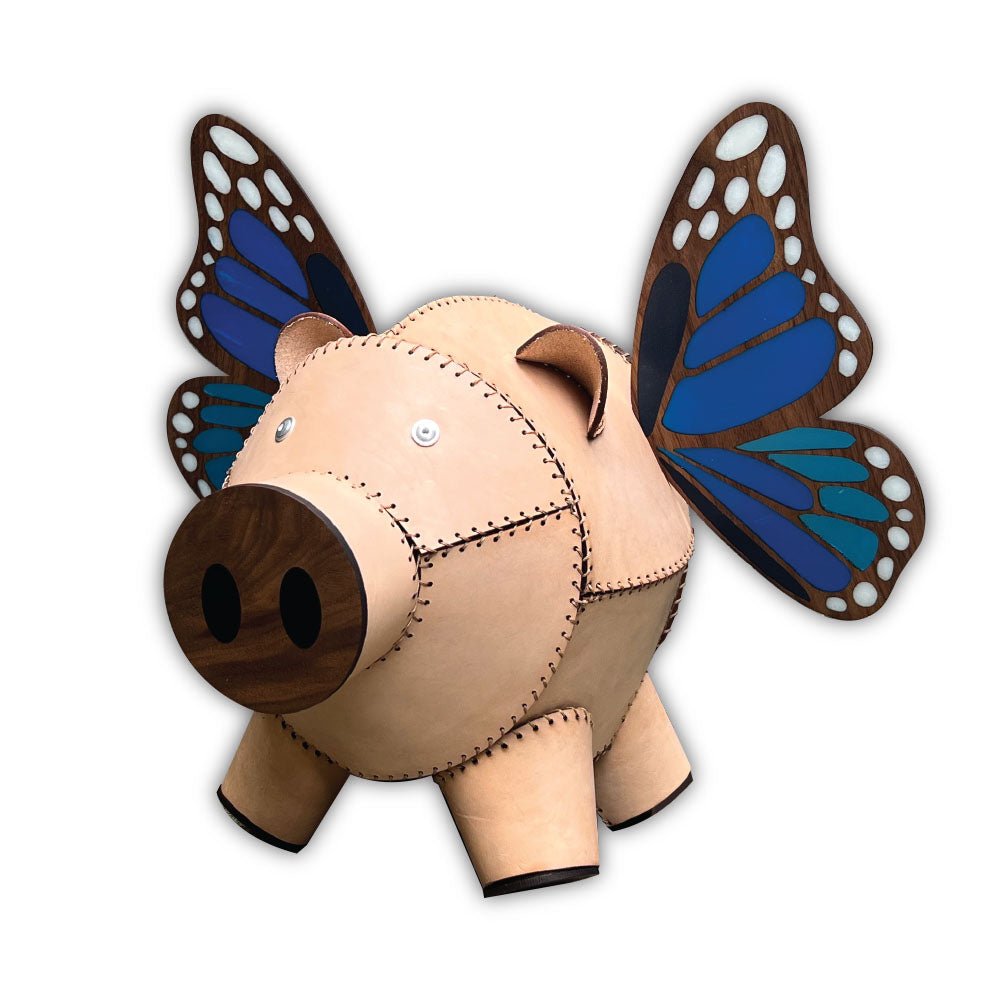
This piggy bank opens at the snout, and makes for the perfect place to keep extra change and cash. The pattern is scalable as well as long as the slots for the wings to fit in are adjusted so this can be made as big or small as you want it, with or without the wings. Enjoy!
-Brooke
Share
-
Project Notes
The Pig:
Step One: Laser leather pattern and then clean off laser residue using a leather conditioner
Step Two: Loosely stitch together all seams using waxed thread and secure with a a bow.
Step Three: Heavily mist the body of the laser cut pig with water and then go stitch by stitch tightening each seam. The water will make the leather more moldable and allow for a rounder finished shape. Knot off the end of each seam at this phase and then allow the pig body to air dry.
The Snout and Hooves:
Step One: Laser cut all pieces out of 1/4″ Laser ready hardwood material of your choice.
Step Two: (optional) On the nostrils seal the grain with clear epoxy and allow to harden completely. Then fill with black epoxy, and allow that to harden again. Sand epoxy flush to the walnut material.
Step Three: Sand both sides of all pieces. Using wood glue and clamps stack the smallest piece of the snout together. Do the same for each individual set of hoof pieces. Allow the wood glue to dry.
Step Four: Using wood glue and clamps glue the smaller stack to the largest snout piece. Do the same for each hoof piece. Allow glue to dry
Step Five: Apply finish and let dry.
Step 6: Slide the snout into place, and each hoof into place. The hooves can be glued into place if you want, but it isn’t necessary.
Wings (Optional)
Step One: Apply painter’s tape to one side of sanded 1/4″ laser ready hardwood material and laser cut wings
Step Two: You can leave the wings as they are and apply finish and pop into place on the piggy bank… or add a resin inlay if you want. For a resin inlay press paint’er tape firmly against the masking material on each wing.
Step Three: Seal the grain with a thin coat of clear epoxy on a sponge brush. Allow to harden.
Step Four: Fill each void with resin colored using your choice of colorant and allow to harden
Step Five: Remove painter’s tape, sand wings, and apply finish. Once the finish cures these can be popped into place on the piggy bank.
-
Suggested Materials
Single Shoulder of 7-8oz. Veg Tanned Leather
Waxed Thread
Needles
Leather Conditioning Wipes
1/4″ Walnut Laser Ready Sheet
Epoxy
Colorant of Choice
Painter’s Tape
Wood Finish of Choice (I used Osmo)