1
/
of
1
Makers Workshop
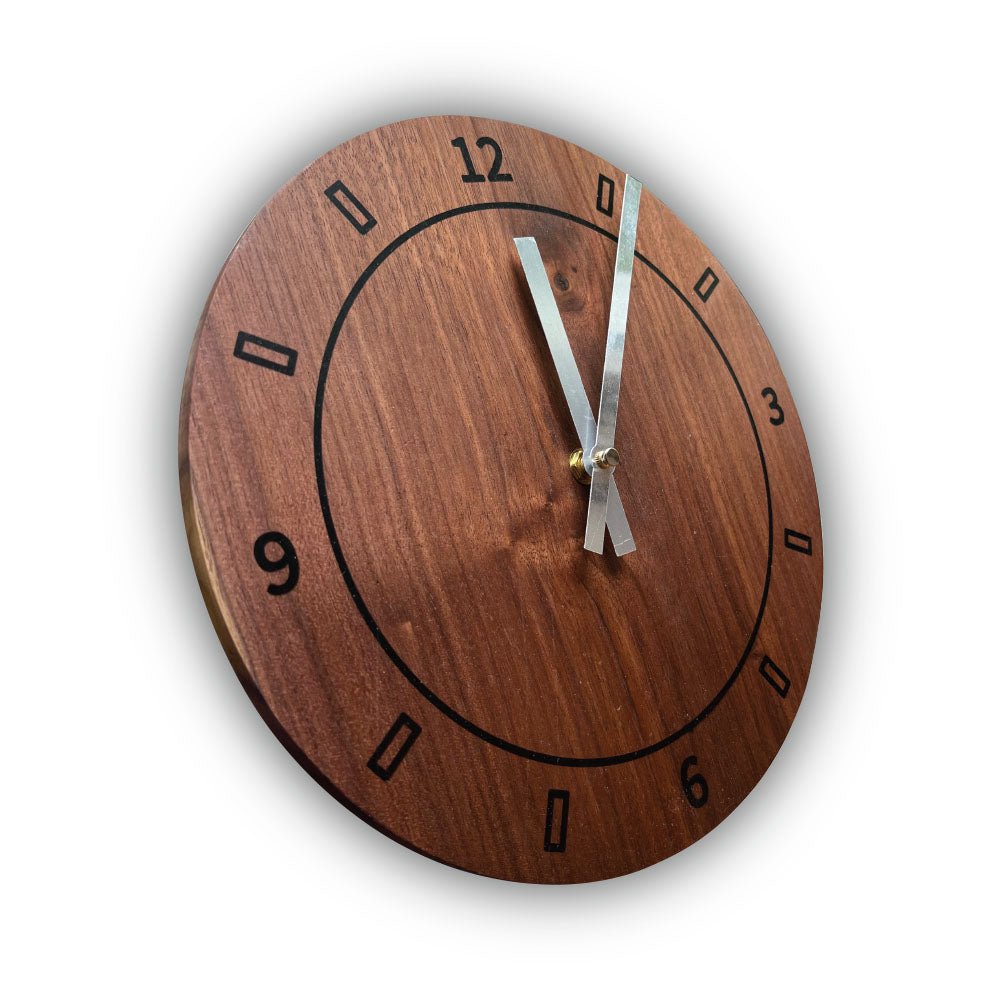
CNC Router Clock Downloadable Files
CNC Router Clock Downloadable Files
Regular price
$10.00
Regular price
Sale price
$10.00
Unit price
/
per
Shipping calculated at checkout.
Couldn't load pickup availability
This design was done with the CNC Router in mind. However, with slight edits to the process this same file would create a great looking clock on a laser cutter as well. Enjoy. -Michael
Share

-
Project Notes
Instructions:
- Position planed hardwood on the bed of the CNC router. This design file can be scaled to any size. However, be sure to scale it so whatever clock motor and hands you have selected will fit properly.
- Carve numbers and design using a 30 degree V Bit. DO NOT REMOVE WOOD FROM CNC BED.
- In place use a foam brush to sponge a thin coat of clear resin into the engraved design. Allow this to harden completely to seal the grain before filling the engrave in with resin colored with the pigment of your choice. Allow this to harden completely in place on the CNC bed before proceeding
- Cut out the outer shape of the clock and drill the center hole. Set the outer circle to cut on the OUTSIDE edge of the design.
- Sand down the resin engrave completely and flip the clock face on the CNC bed to be face down.
- Use the center hole to re-zero the CNC router to the design.
- Carve the back pocket about halfway through the clock face. This will create a seat for the electronics allowing the finished clock to sit more flush to a wall.
- Sand the clock to your desired look and apply your wood finish of choice.
- Attach the clock motor and hands.
-
Suggested Materials
Solid Hardwood, Planed
Total Boat Higher Performance Epoxy with a Fast Hardener
Pigments to Color Resin
Wood Finish of Choice
Clock Motor