Makers Workshop
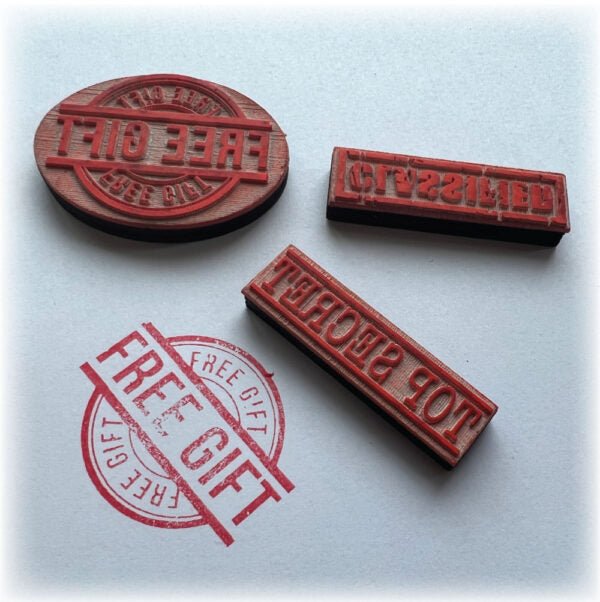
Laser Cut Rubber Stamp Downloadable Files
Laser Cut Rubber Stamp Downloadable Files
Couldn't load pickup availability
Share

-
Project Notes
Step 1: Be sure you are using laserable stamp rubber. Laser Engrave the black sections of your chosen rubber stamp design as a fill. I used a 300 speed at 90 power on my Glowforge, but I highly recommend doing a few test engraves on your laser first. Set the red lines to then cut your shape out entirely.
Step 2: The engrave will produce quite a bit of ash. I cleaned my stamp with a damp paper towel.
Step 3: Laser cut the corresponding backer piece for your chosen stamp from 1/4″ thick laser ready sheet or scrap plywood.
Step 4: Sand the charring off the wood
Step 5: Coat the wood well with wood glue and place your rubber stamp on top, applying pressure.
Step 6: Let dry, and enjoy!
-
Suggested Materials
Laser Safe Rubber Stamp Sheet
1/4″ Laser Ready Sheet or Plywood
Woodglue

